
Harper Hills - Lake District Walk
Monday 11th March 2019
As usual our stay at the Haweswater Hotel seemed to clash with a spell of bad weather. Having arrived the previous day in snow and with rain forecast for the next day we decided to make the most of the one good day that was forecast to try and finish the Branstree group.
Start: Naddle Gate (NY 5108 1620)
Route: Naddle Bridge - Naddle Farm - Scalebarrow Knott (402) - Harper Hills (403) - Powley's Hill (404) - Hare Shaw (405) - Naddle High Forest (406) - Wallow Crag (407) - Hugh's Laithes Pike (OF) - Naddle Low Forest - Naddle Farm - Naddle Bridge
Distance: 7.75 miles Ascent: 469 metres Time Taken: 6 hrs 20 mins
Terrain: Predominantly clear tracks
Weather: Dry and sunny.
Pub Visited: Haweswater Hotel Ale Drunk: Worthington Bitter
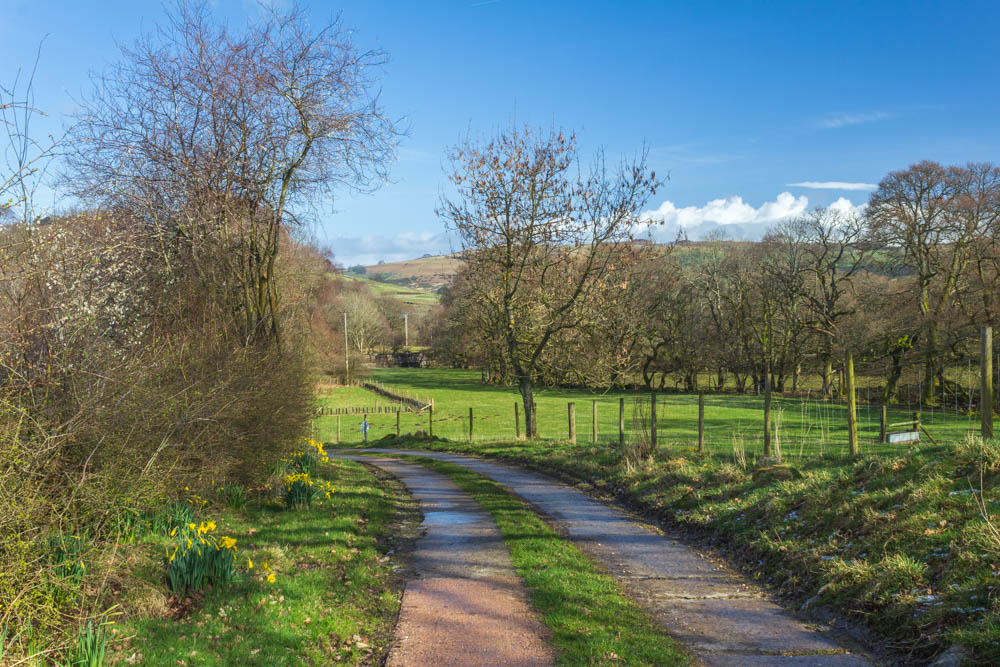
Rather than drive out to the start allocated by Birkett we parked the car near Burnbanks and took the footpath through Naddle Farm to the ford.
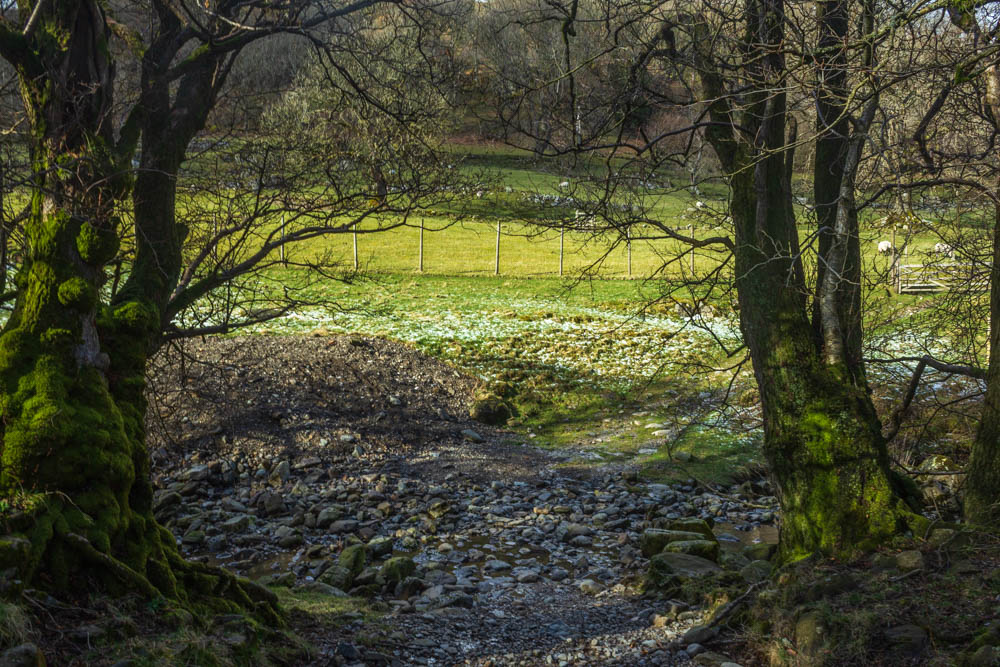
We crossed the ford easily and started the pull up the hill to Scalebarrow Knott. I was glad we were doing this at the start of the walk and not the end as it would have been if we had parked at the spot described by Birkett.
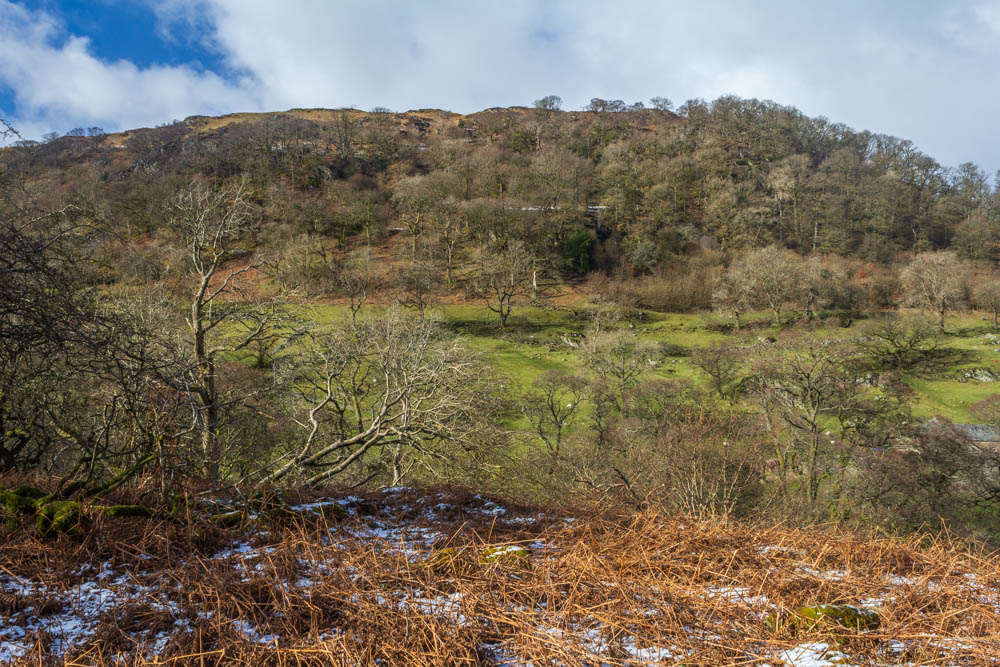
As we cleared the trees we could look across the valley to Naddle Low Forest, which should have been the final top of the day.
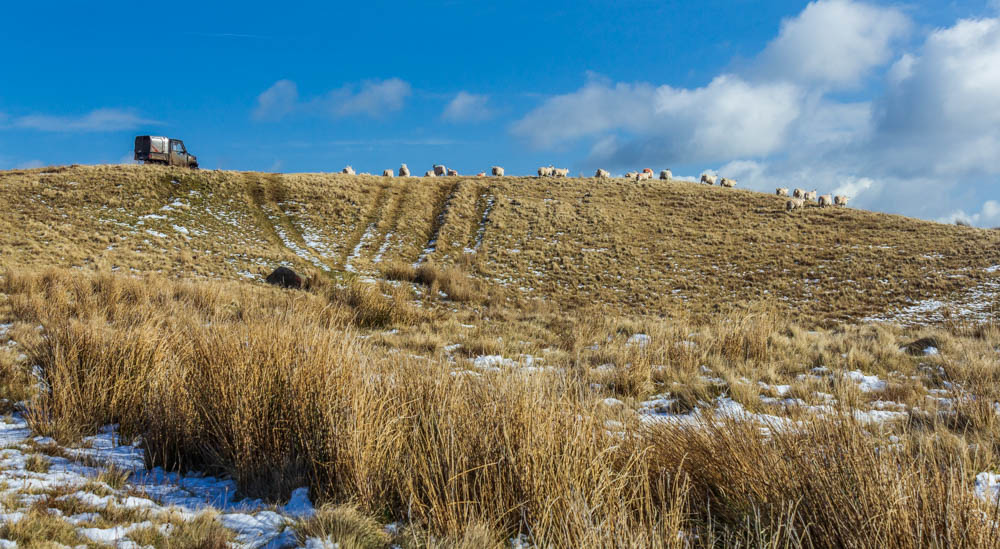
As we made our way out to the first top of the day we witnessed a farmer rounding up his sheep using his landrover, which was a first.
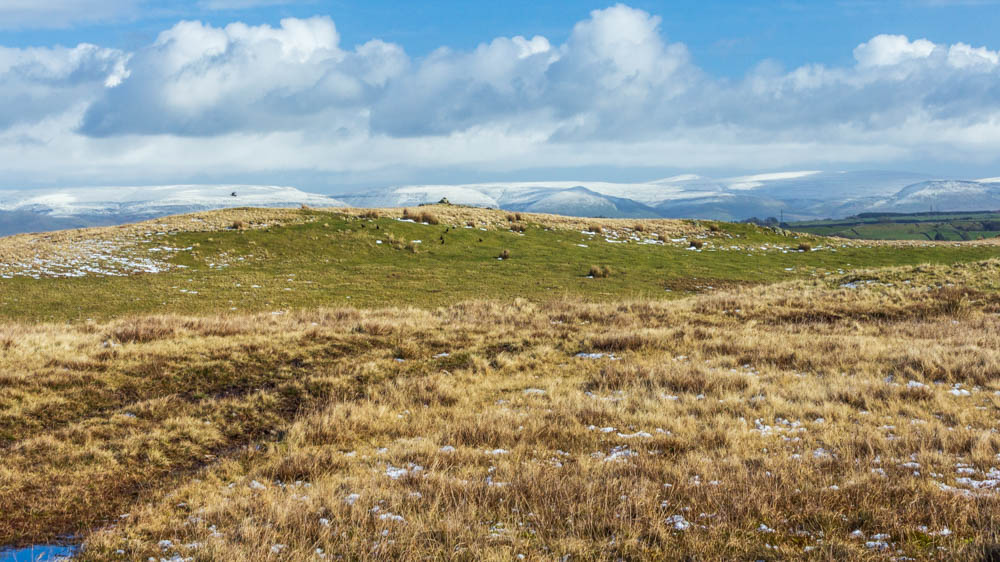
As the farmer and his sheep disappeared out of sight the first summit of Scalebarrow Knott came into view.
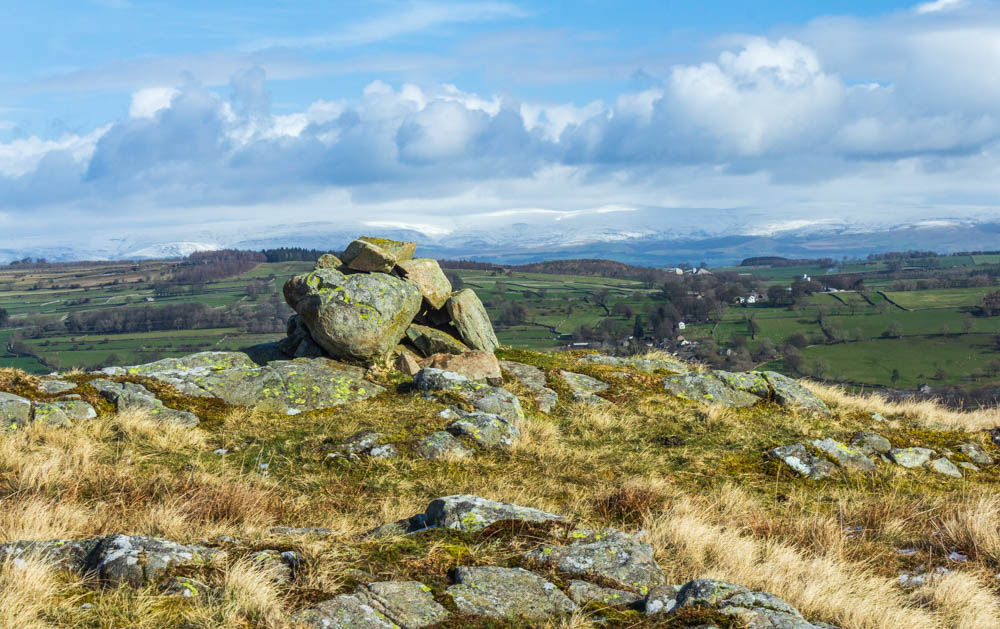
From the summit we had a good view across to the distant snow capped Pennines.
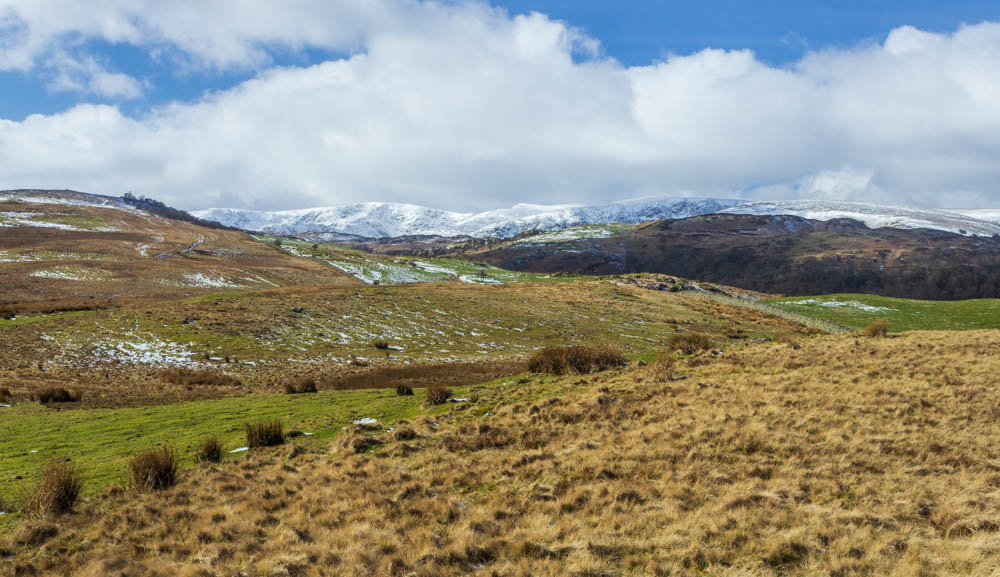
Our route to the next summit of Harper Hills is quite clear, follow the track uphill.
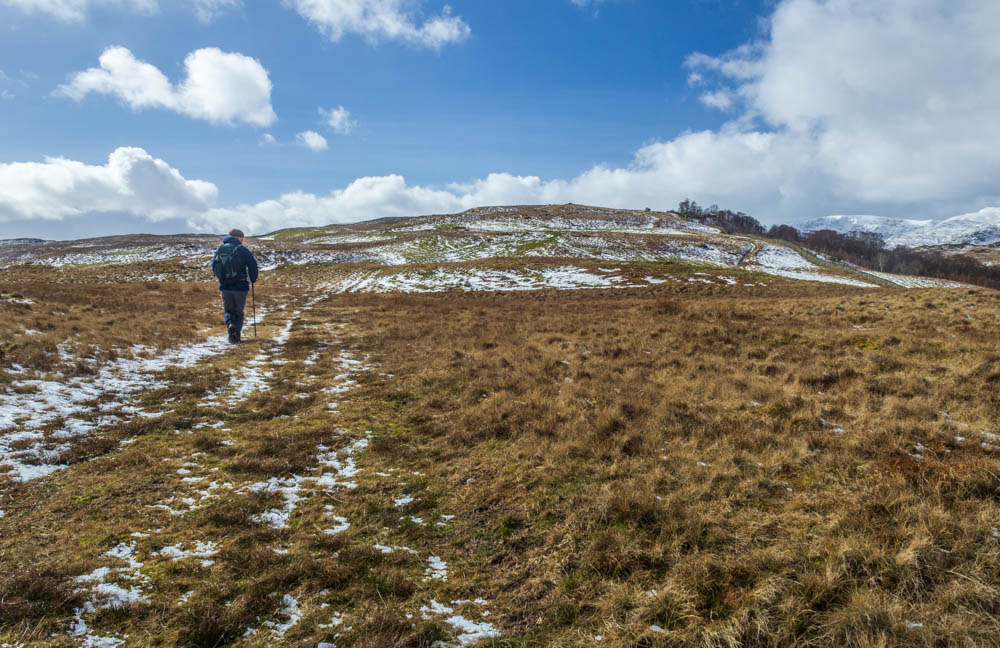
We make good progress along the frozen ground. I suspect in different conditions this could have involved a lot of bog-hopping.
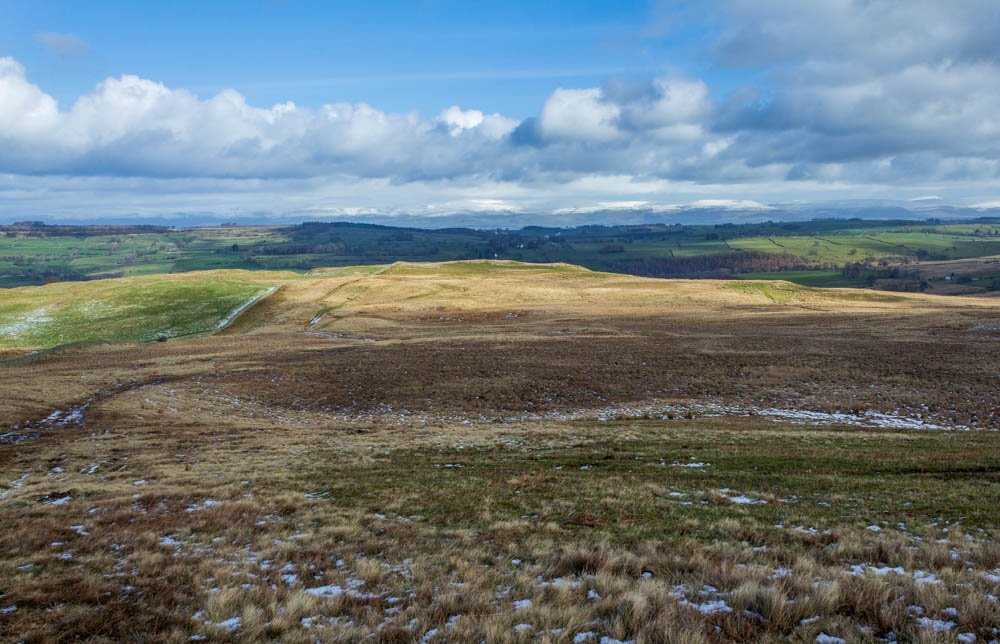
Scalebarrow Knott is soon left behind as we head into increasingly snowier ground.
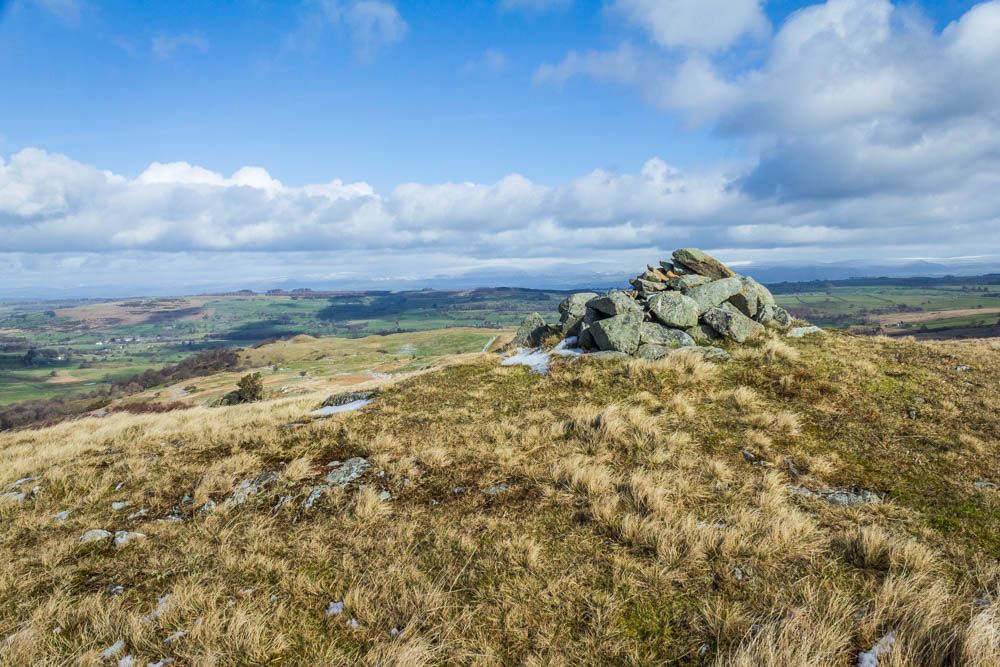
Harper Hills summit marks a change in the conditions underfoot. As we gain height the amount of snow increases.
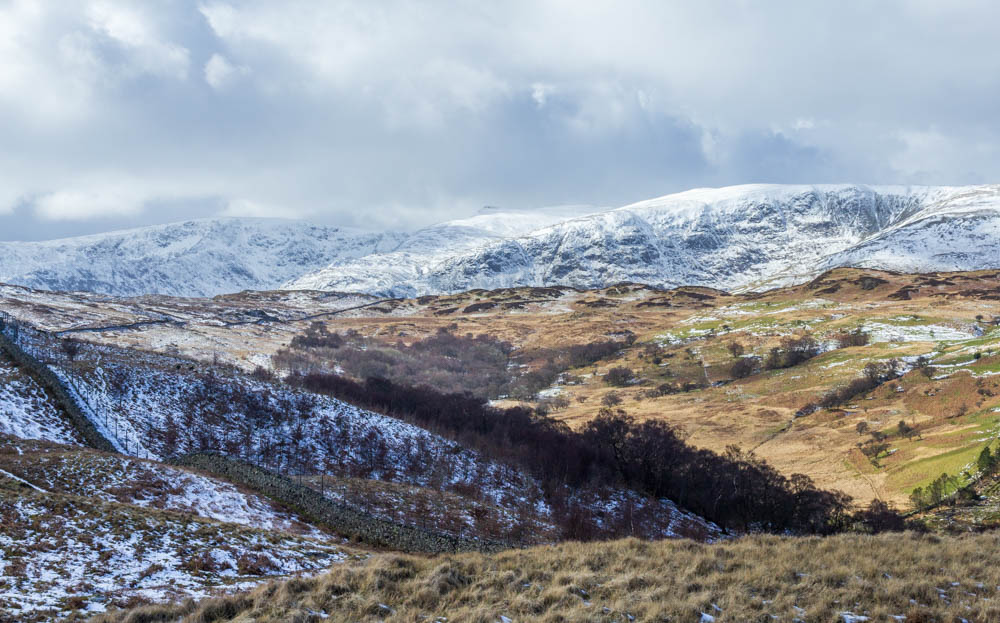
Looking across Naddle Forest and Haweswater we could see the high fells all had a good covering of snow. Our original plan had been to do High Street via Rough Crag, I was glad we hadn't as we weren't really equipped for the conditions we might have encountered up there.
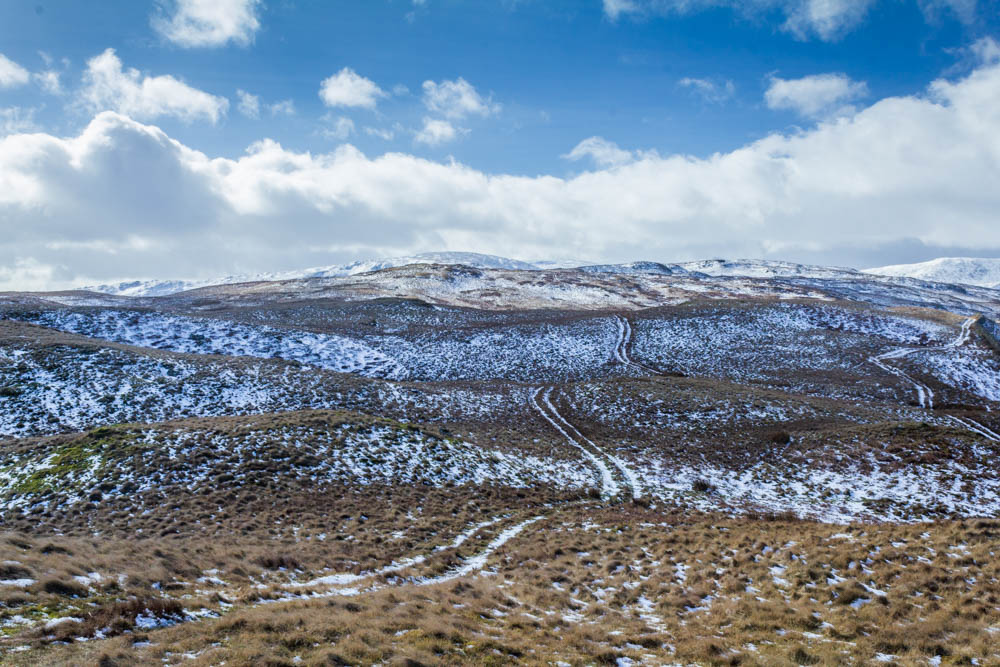
From the summit of Harper Hills I look across to the next two summits, Powley's Hill and Hare Shaw. Rather than follow the track to the left, which appears to be the more direct route, to the next summit we took the path to the right which would follow the wall to a gate.
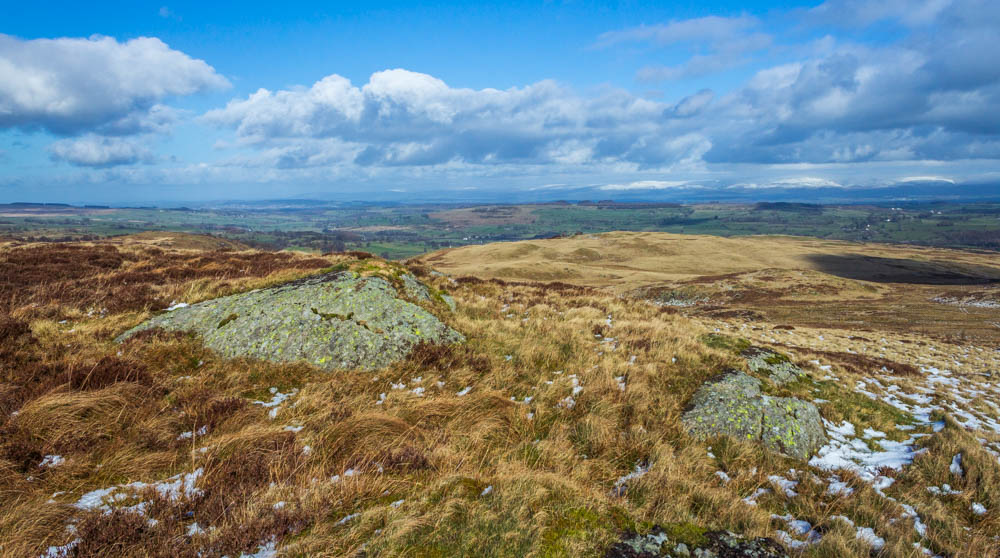
Despite appearances there was much trudging through snow to reach Powley's Hill summit. Once again time spent researching the walk proved useful as I was able to identify which rock was the recognised summit.
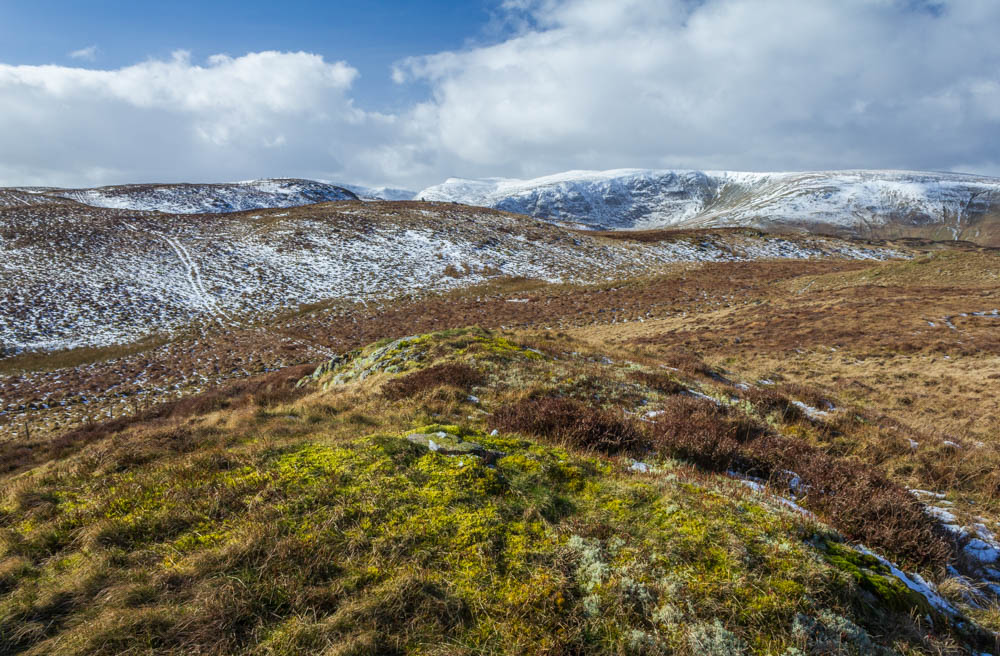
The snow helped to define the route from Powley's Hill to the highest summit of the day Hare Shaw. On route to Hare Shaw we passed numerous other rock outcrops that could have had a claim to be the summit of Powley's Hill. Just to be sure all were visited.
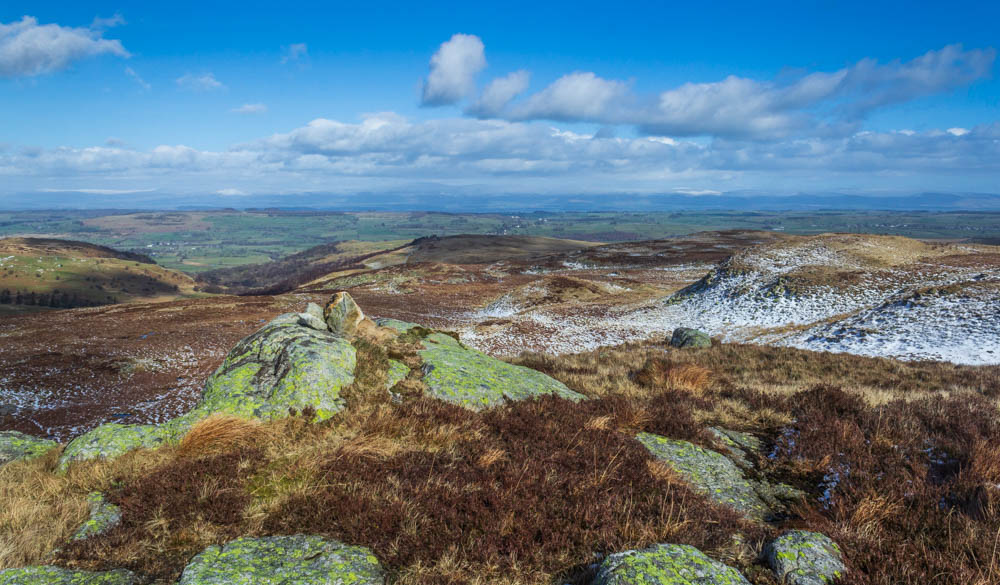
Potential summit number three as we head towards Hare Shaw.
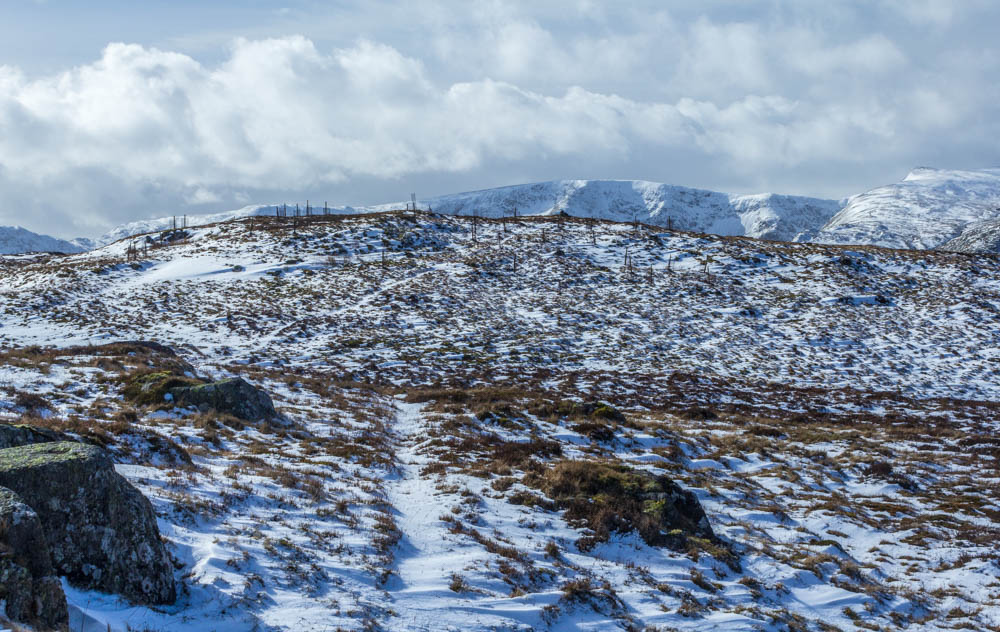
The trickiest section of the walk was on the route from Powley's Hill to Hare Shaw. It was one of those occassions when you were never sure quite how far down your foot was going to go in the snow.
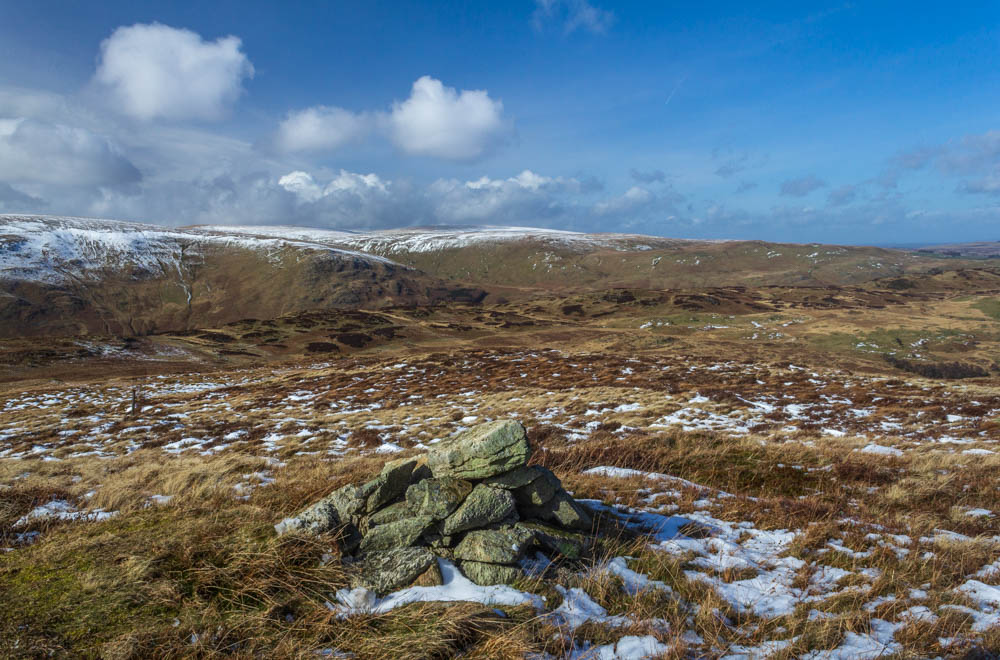
Just as on Powley's Hill there were numerous cairns suggesting they were the highest point of the fell. One of those occassions where the GPS helped identify the correct summit, in this case cairn number three.
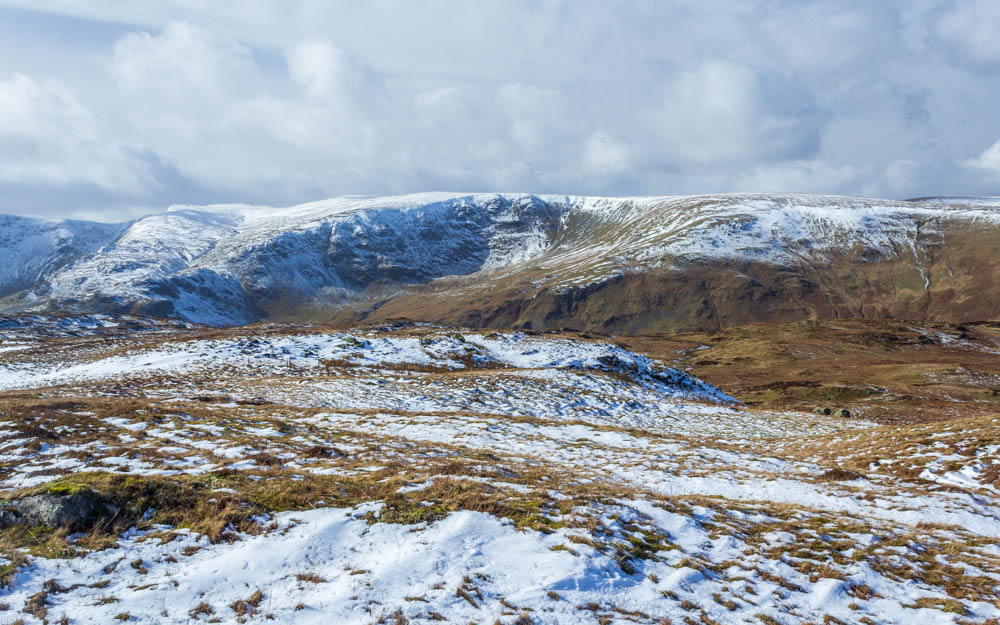
Looking across to High Raise and Kidsty Pike from Hare Shaw's summit. Our route will take us right, down towards the prominent rocks and then to the wall and a gate into the area known as Naddle Forest.
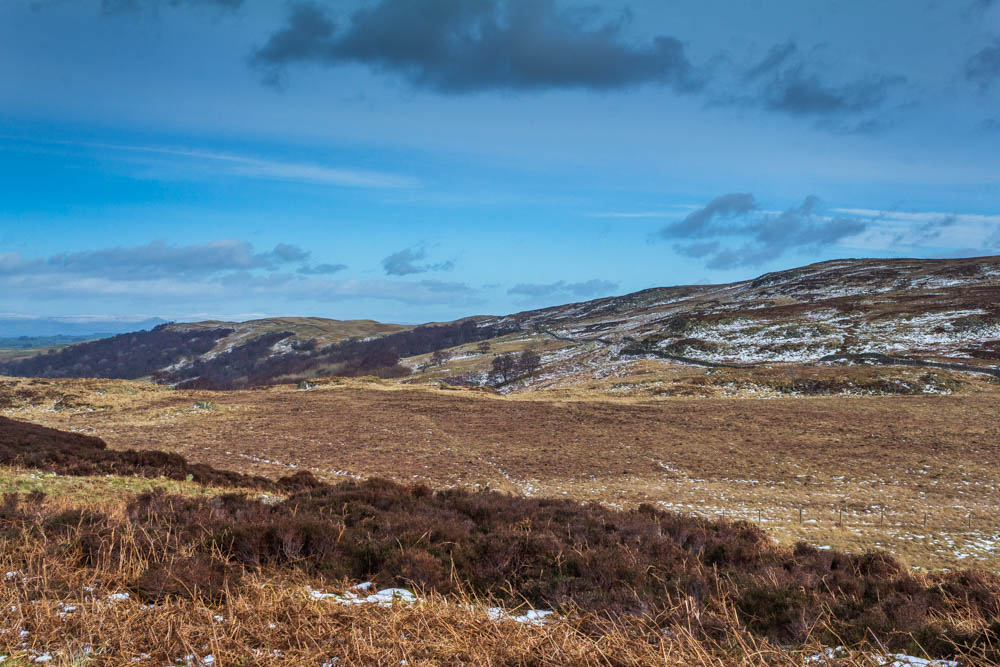
From Hare Shaw's summit it had looked like we would be leaving the snow behind us but as we crossed through the gate there was no sign of the snow disappearing. We found a sheltered spot for lunch and enjoyed the view back to Harper Hills.
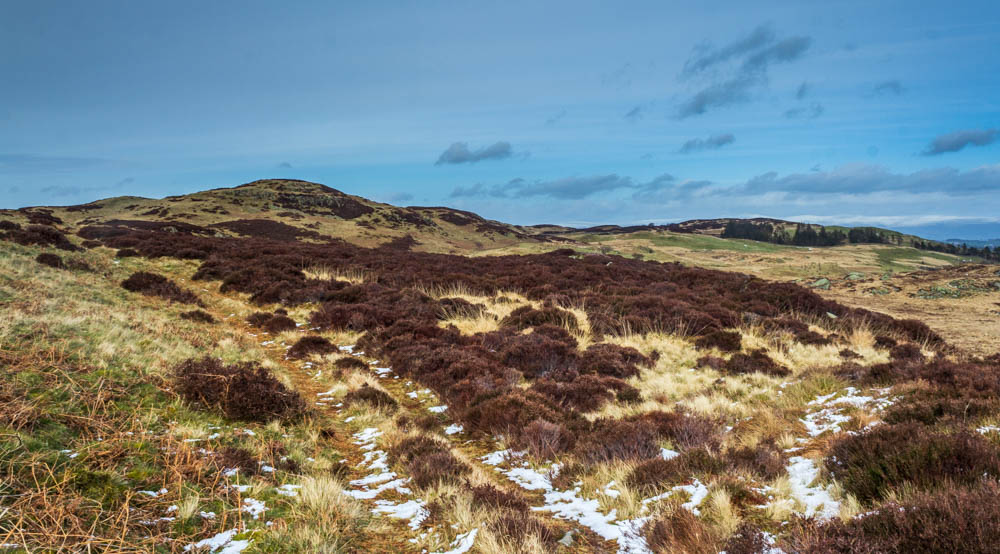
The track to Naddle High Forest was easy to follow although the lack of trees does make me wonder where the name comes from.
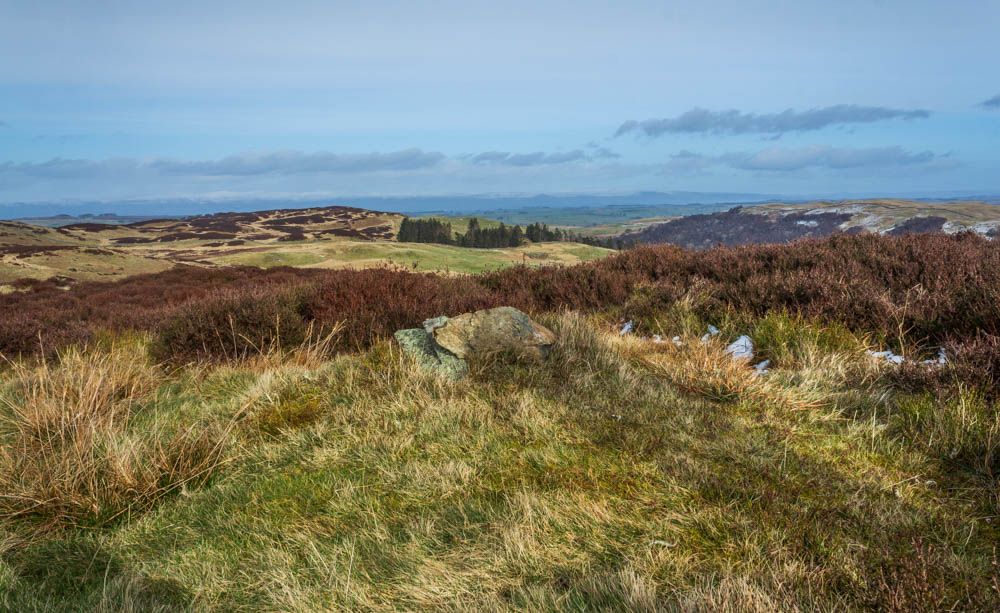
Looking across to Naddle Low Forest from the summit of Naddle High Forest. If only we had stopped to observe what is quite obvious from here, that the summit is to the right of the hill.
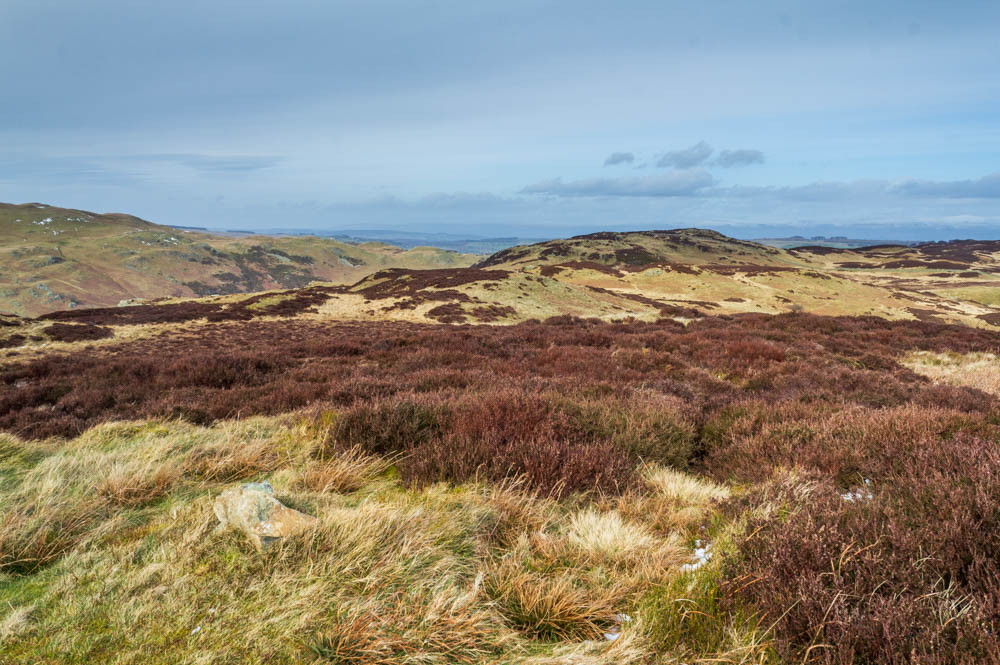
The next summit of Wallow Crag beckons as the clouds begin to gather.
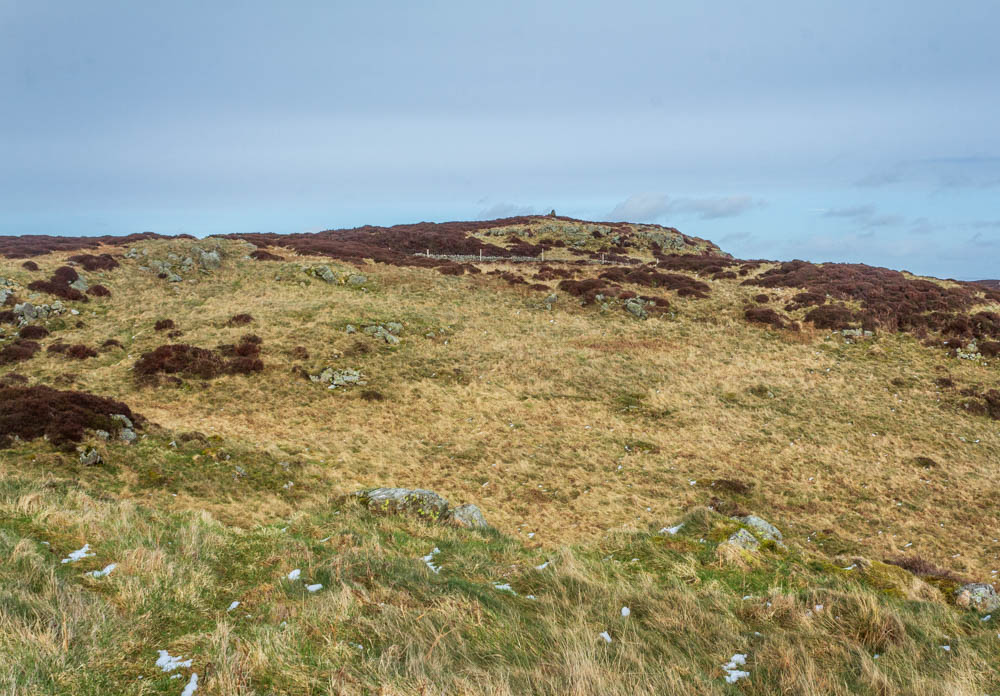
The distinctive cairn makes it easy to identify, I just hope the path leads to a gate or stile.
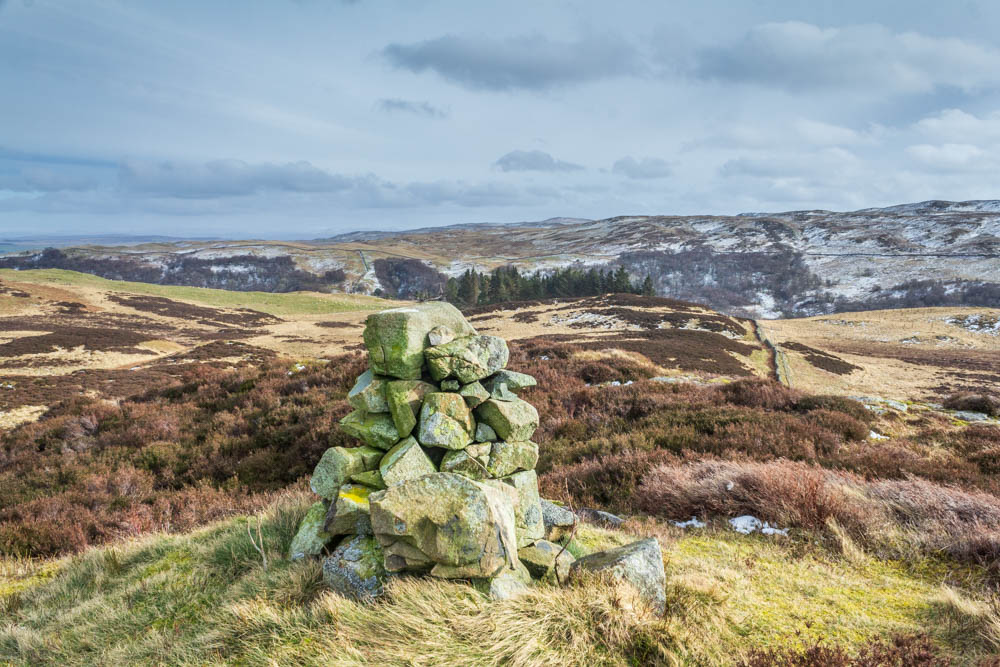
Looking across to Harper Hills from Wallow Crag's summit cairn.
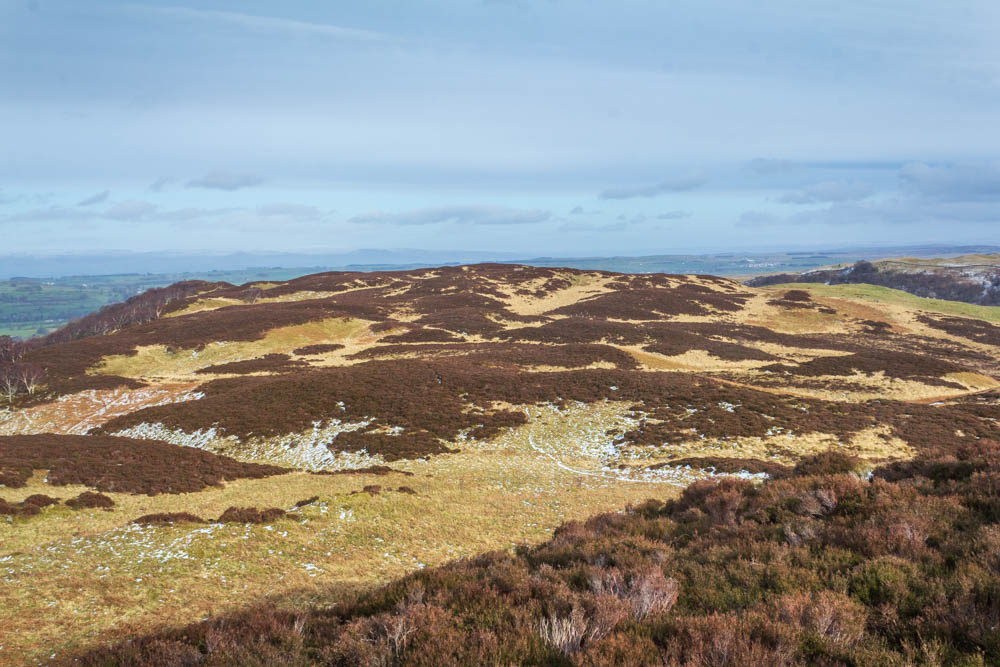
The final summit of the day beckons as we look across to Low Naddle Forest from Wallow Crag and from here the path looks easy to follow.
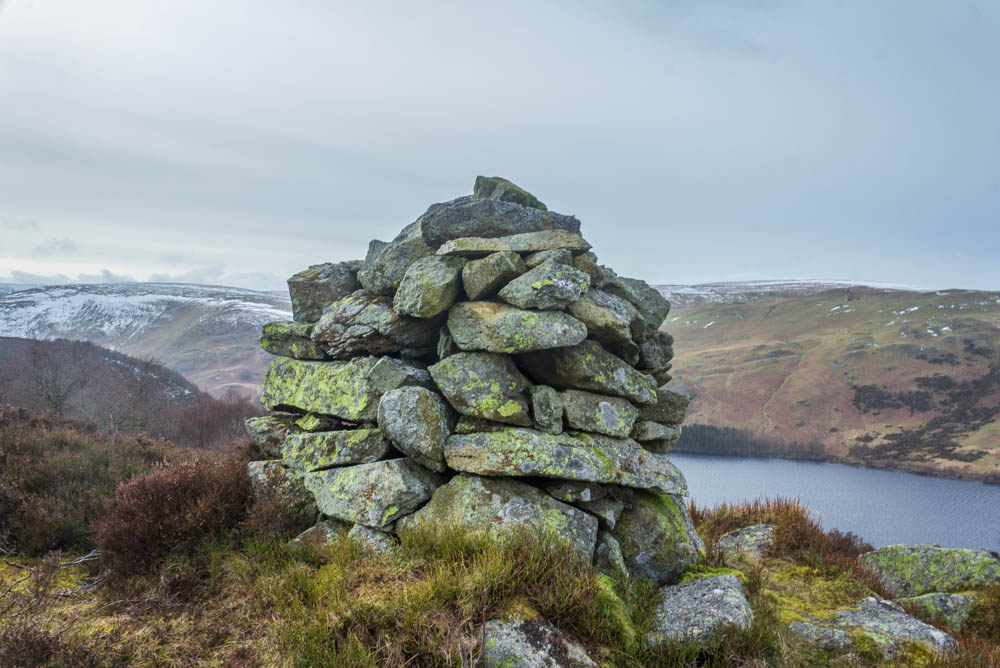
Somewhere between Wallow Crag and Low Naddle Forest we lost the path but we eventually ended up at Hugh's Laithes Pike, which whilst nice to visit wasn't on the plan for today.
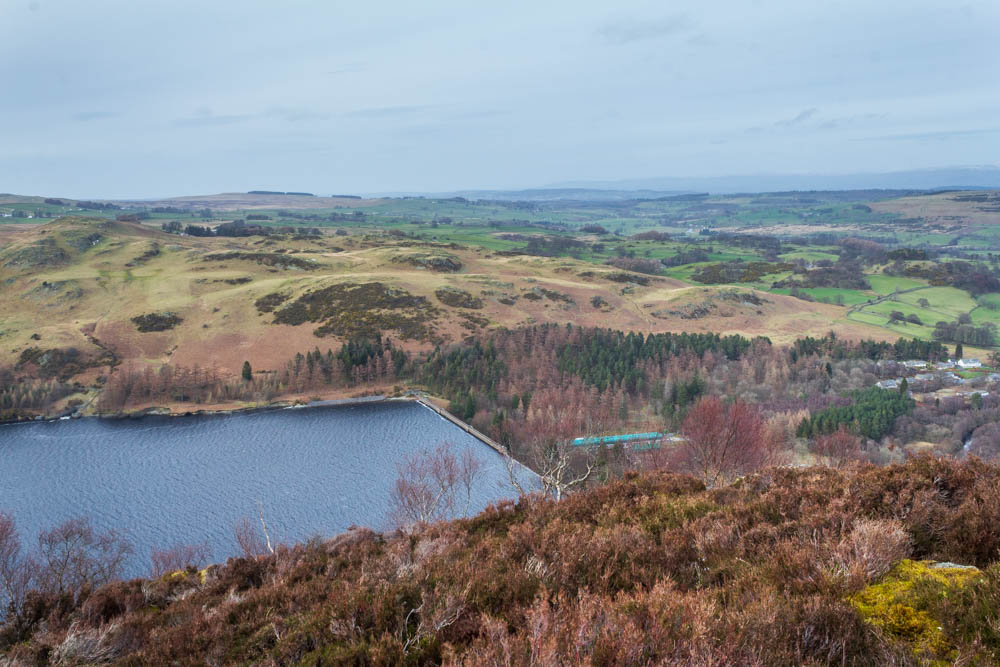
Whilst we were there we enjoyed a rare view of Haweswater.
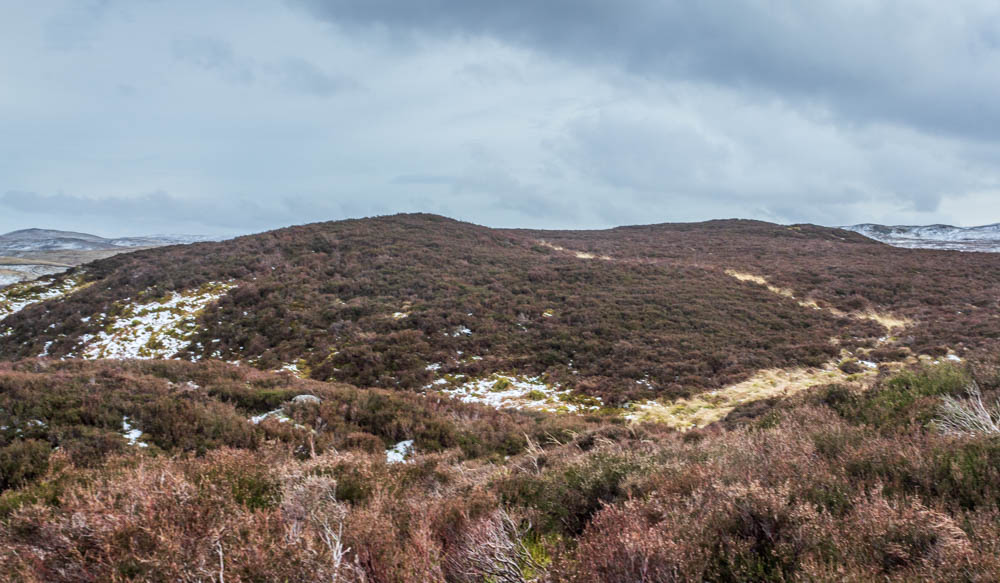
Looking across Naddle Low Forest from Hugh's Laithes Pike. Now which bit is the summit?
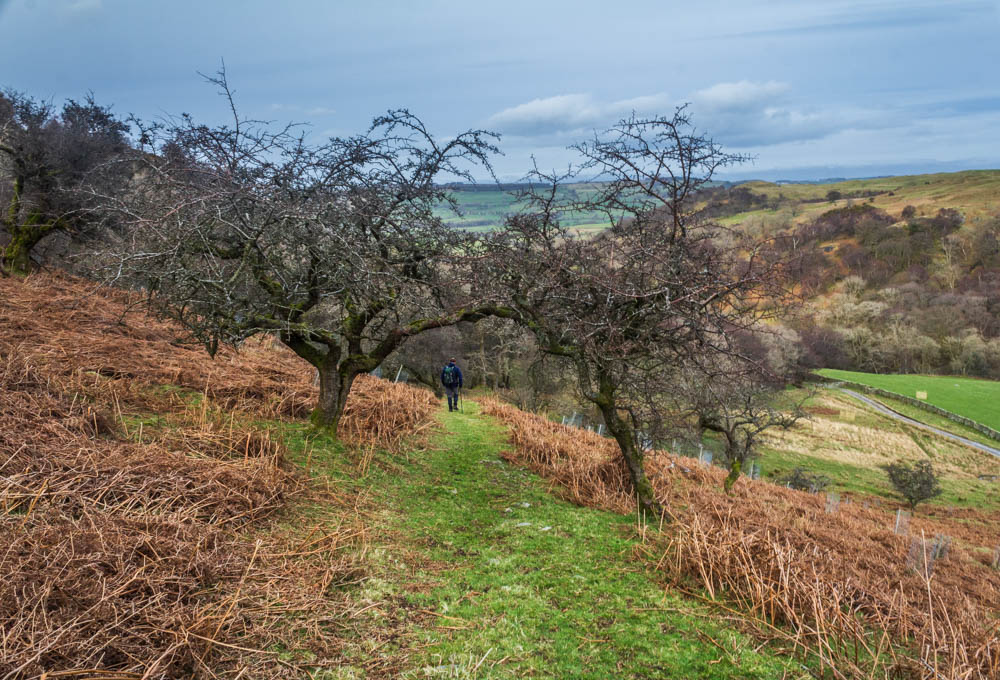
Having visited what we thought was the summit of Naddle Low Forest we make our way back down to Naddle Farm. When we got home the GPS track confirmed my worst suspicions, we hadn't actually visited the true summit. Looks like we will be returning here the next time we stop at the Haweswater Hotel.
All pictures copyright © Peak Walker 2006-2023